
Getting your labelling right on glass jars starts with picking the machine that fits what you’re doing. This one decision has a large knock-on effect, influencing everything from how fast you can get your products out the door to how good they look on the shelf. If you’re just starting out, a manual labeller gives you great control without a huge upfront cost. As you grow, a semi-automatic system often hits that sweet spot between speed and investment. For the big players, a fully automatic labelling machine is pretty much non-negotiable to handle serious volume.
Picking the right labelling system is a genuine make-or-break moment for anyone putting products in glass. The perfect machine for you hinges entirely on your production numbers, your budget, and the specific shape of the jars you’re using. Get it right, and you’re looking at a smoother operation, a more professional finish, and better efficiency in the long run.
Your journey starts with getting to grips with the three main types of labellers out there. Each is built for a different scale of operation, from a kitchen table startup to a full-blown factory floor. Picking the wrong one can cause frustrating production bottlenecks or just be a massive waste of money.
Think of an artisan jam maker producing a few hundred jars a month. For them, a manual labelling machine is the perfect place to start. With these bits of kit, an operator physically places the jar, then usually turns a handle or presses a lever to get the label on.
It’s not the fastest method, but it gives you precision and it’s incredibly kind to your wallet. This makes them ideal for startups or businesses focusing on small, high-quality batches. You get a much more consistent look than you ever could by hand.
Now, let’s picture a chutney business that’s taken off. Suddenly they need to label a thousand jars a week. Doing that by hand is out of the question, but investing in a fully automated line feels like a huge leap. This is exactly where a semi-automatic labeller comes into its own.
An operator still needs to place each jar into the machine, but the label itself is applied automatically, often with a simple press of a foot pedal. This gives you a serious boost in speed and consistency over a manual setup. It’s the perfect middle ground, balancing cost with a real jump in productivity. For a deeper look, you can explore what is a labelling system and see how the different parts work together.
When you get to the scale of a major sauce company churning out thousands of jars an hour, only a fully automatic system can keep up. These machines are built to slot right into a production line, handling everything without an operator needing to step in. Jars are fed in, spaced correctly, labelled, and sent on their way automatically.
These systems are the workhorses of high-volume, non-stop production. They’re built for speed and reliability where every second counts. It’s a significant investment, no doubt, but the payoff in efficiency and consistency is unmatched for large-scale operations.
Don’t forget that the shape of your jar is just as important. A standard round jar is easily handled by a wrap-around labeller, which simply rolls the label around the container. A square jar will likely need a front-and-back system to apply separate labels to opposite sides. If you need to brand the lid or add a tamper seal, a top-and-bottom applicator is what you’ll be looking for. Nail down both your volume and your jar shape, and you’ll be well on your way to finding the perfect labelling solution.
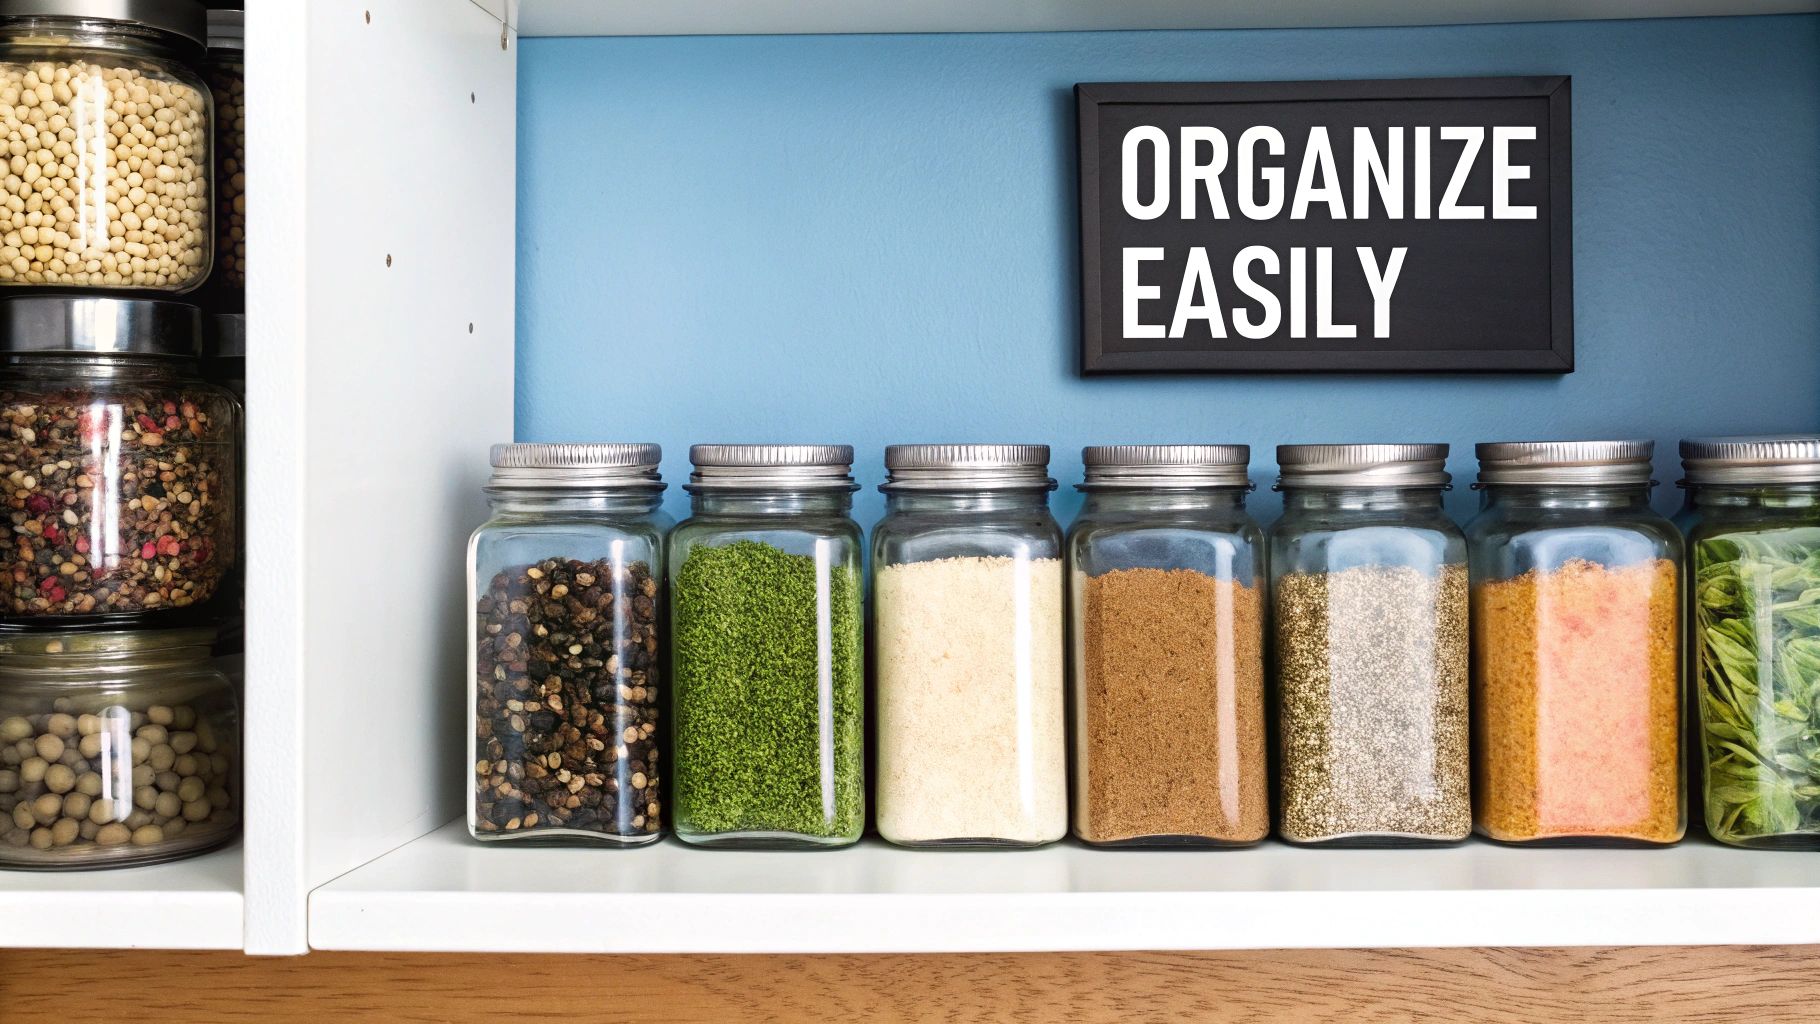
The success of your entire labelling run often hinges on what you do before the first label ever touches glass. A pristine, perfectly prepared surface is the only way to get that professional, long-lasting finish you’re after. It’s easy to forget that even microscopic dust, fingerprints, or a bit of condensation can get in the way of the adhesive, leading to a real headache later.
Skipping this prep stage is a rookie mistake, but a common one. It’s the root cause of so many frustrating issues down the line- think bubbling, peeling corners, and wonky labels. All of these problems can often be traced right back to a jar that wasn’t quite ready. Taking a few moments to get this right from the start will save you a world of pain, time, and wasted labels during production.
Think of any speck of dirt or grease on the glass as a tiny barrier. It sits right between your label’s adhesive and the jar, stopping them from forming a solid bond. Oils from being handled, a little moisture left over from washing, or even dust floating around in the air can be the culprit. That’s why a thorough cleaning process isn’t just a suggestion; it’s a requirement.
You might be surprised to learn how much the temperature of your jars affects label adhesion. Applying a label to a cold jar is asking for trouble. As that cold glass warms up to room temperature, condensation can form right under the label. This moisture weakens the adhesive, causing bubbles or even causing the label to fall off completely.
The ideal scenario is to have both your jars and your labels at a stable room temperature before you begin. For this to happen, bring your jars into the production area at least 24 hours before you plan to start labelling. This gives them plenty of time to acclimatise and prevents any sudden temperature swings from messing with the bond.
Drying is just as important. Every single jar needs to be bone dry before it goes near the labeller. Pay close attention to tricky spots like the rim, the base, and any embossed patterns on the glass, as these areas love to trap water. A compressed air blower can be a massive help here, speeding up the process and blasting out any hidden moisture.
A common problem we see is ‘flagging’, where the edges of a label start to lift away from the jar. More often than not, this is caused by temperature shifts or a surface that wasn’t fully dry. Proper acclimatisation and drying are your best lines of defence.
By locking in a consistent preparation routine, you’re setting yourself up for a smooth, efficient labelling run. Different products and environments might require slightly different methods, and it’s helpful to explore various label application techniques to see what fits your operation best. Confirming every jar is clean, dry, and at the right temperature is the secret to getting that perfect finish, every single time.
You can have the best labelling machine in the world, but if your labels and adhesives aren’t up to scratch, you’re setting yourself up for failure. This pairing is the first thing your customer sees and touches, so getting it right is fundamental for your product’s look, feel, and performance.
The material you choose for your glass jars really sets the tone- from a rustic, natural vibe for jams to a sleek, premium finish for cosmetics.
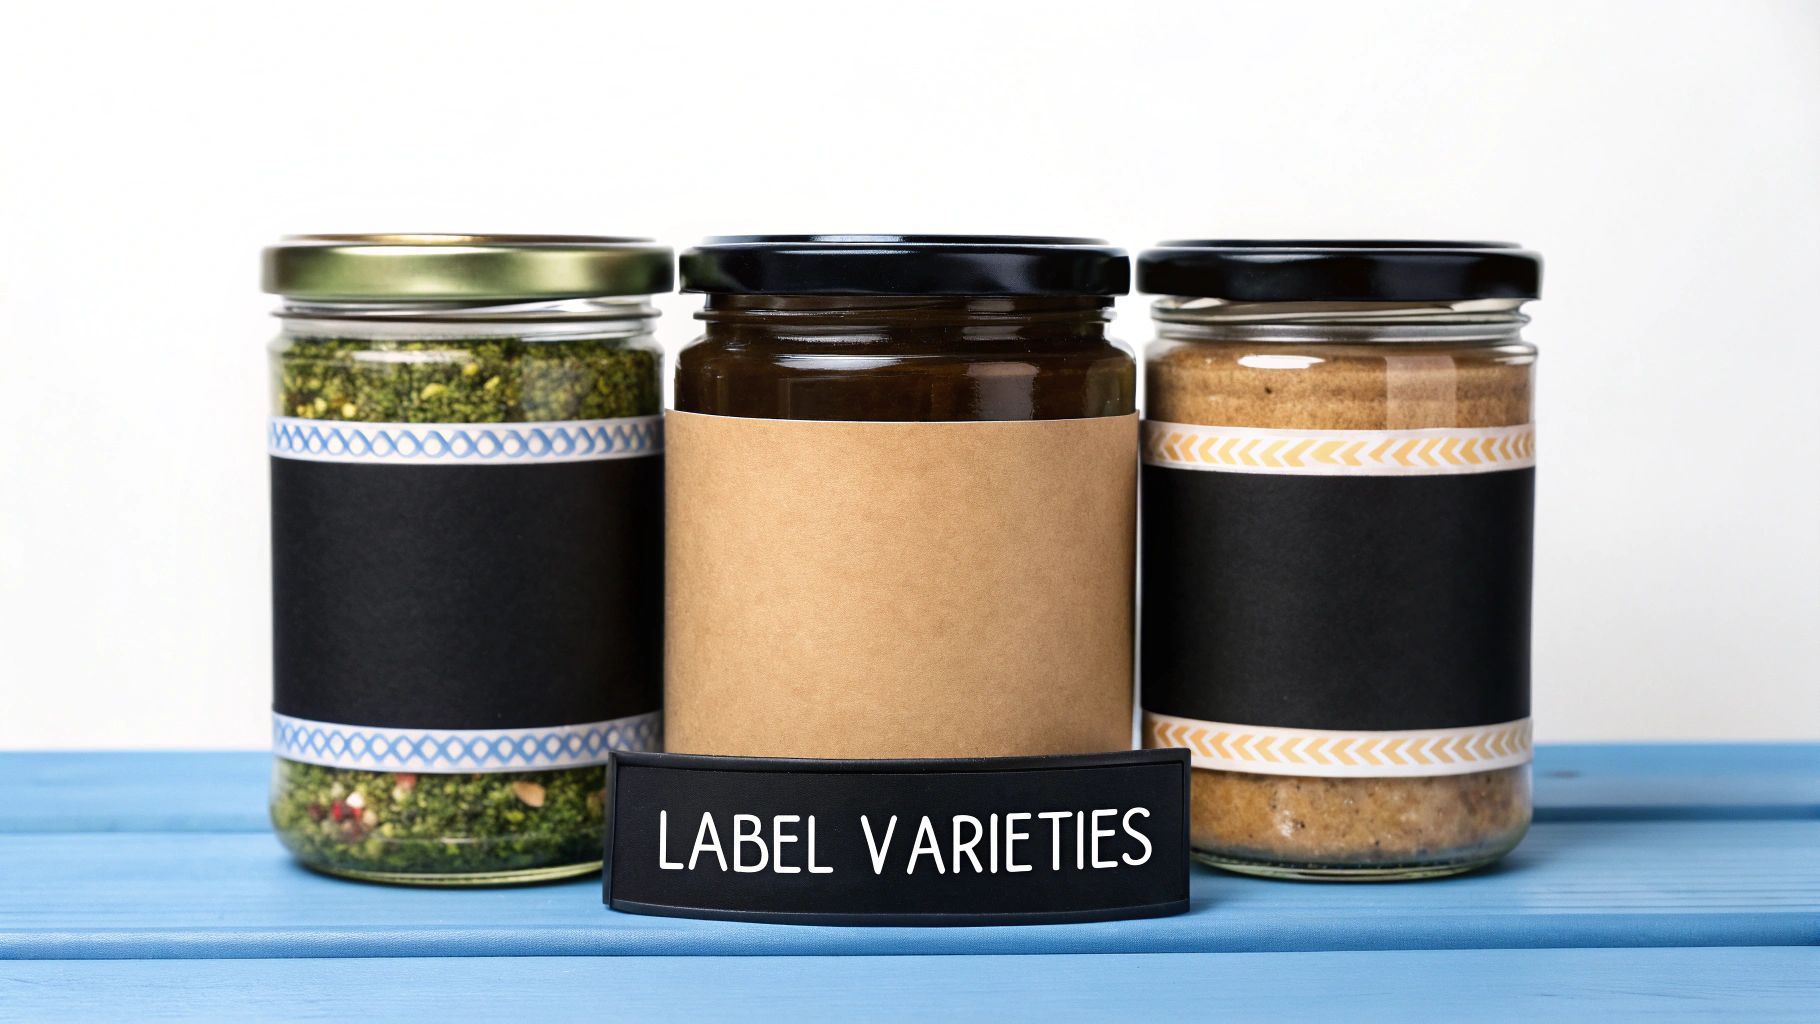
Your first big decision is the label material itself. Think carefully about where your product will end up. Is it destined for a steamy bathroom, a cold fridge, or a dry pantry shelf? Each material offers a different look and level of durability.
The most popular choices for glass are paper, polypropylene (PP), and polyethylene terephthalate (PET).
Paper labels are a classic for a reason. They’re cost-effective and give off that lovely, organic feel, which is perfect for artisan chutneys or dry goods. Their Achilles’ heel is moisture. A standard paper label just won’t survive in a damp environment.
If your product will face condensation or dampness- think chilled drinks or skincare- you’ll want to go with a synthetic material. Polypropylene (PP) is a tough plastic film that’s fully waterproof and tear-resistant. If you want that modern, “no-label” look, a clear PP is the way to go. PET is another strong contender, offering fantastic clarity and resistance to oils and chemicals, making it a great fit for luxury food items or beauty products.
We’ve seen it time and time again. A study found that products in high-moisture environments, like refrigerators, had a 30% higher label failure rate when using standard paper compared to waterproof polypropylene. It’s a small choice that makes a big difference.
Getting to grips with the technical side of label production is a huge advantage when talking to suppliers. To learn more, check out this ultimate guide to sticker printing.
As you can see, the basics are straightforward, but getting the combination of jar, label, and adhesive right is where the magic happens.
The adhesive is the unsung hero of your label. The wrong one can lead to all sorts of headaches: peeling, slipping, or leaving behind a sticky mess nobody wants to deal with. Adhesives generally come in three main types, each designed for a different job.
To help you navigate these choices, here’s a quick reference table.
| Label Material | Adhesive Type | Best For | Key Considerations |
|---|---|---|---|
| Paper | Permanent | Dry goods (e.g., spices, honey, preserves) where the jar won’t be reused. | Cost-effective but susceptible to moisture damage. Not suitable for chilled or humid environments. |
| Polypropylene (PP) | All-Temp / Permanent | Chilled beverages, bath & body products, or anything exposed to moisture. | Waterproof and tear-resistant. Clear PP offers a sleek “no-label” look. |
| PET | Permanent | Luxury oils, vinegars, and skincare products. | Excellent resistance to oils and chemicals. Offers superior clarity and a premium feel. |
| Any Material | Removable | Promotional labels, gift items, or products in reusable containers. | Designed to peel off cleanly without leaving residue. Bond strength is lower than permanent adhesives. |
| Any Material | Repositionable | Manual or semi-automatic application processes. | Allows for correction of placement errors shortly after application, which is great for reducing waste. |
This table gives you a solid starting point for matching your label to your product’s specific needs and environment.
Of course, some situations are trickier than others. Applying labels to cold or wet jars, for instance, requires a specialised adhesive. Look for “all-temp” or “wash-off” adhesives, which are engineered to bond securely in these tough conditions.
For a deeper look into the world of adhesives, you can find a lot more information here: https://sessionsuk.com/understanding-label-adhesives-guide-2025/. Making the right choice from the start prevents a lot of common problems down the line and makes sure your product always looks its best.
Getting your product onto a shelf is one thing; making sure it can legally stay there is another challenge entirely. For any business selling goods in glass jars within the UK, getting to grips with the current labelling regulations isn’t just good practice- it’s a legal necessity. These rules spell out exactly what information your customer must be able to see.
Get it wrong, and you could see your products pulled from sale, face legal action, or seriously damage your brand’s hard-earned reputation. The trick is to see your label not just as a marketing tool, but as a critical compliance document.
Every food product sold in the UK needs a set of mandatory details on its label. Think of this as the non-negotiable checklist for your jarred goods.
Here’s what you absolutely must include:
The UK’s departure from the EU brought in some significant shifts for food labelling, creating distinct rules for different parts of the country. These changes are especially relevant if you trade across both Great Britain (England, Scotland, and Wales) and Northern Ireland.
One of the biggest changes involves the Food Business Operator (FBO) address. Your label must now include a UK address for the business responsible for the food information. If you’re selling in Northern Ireland, an address in either the UK or the EU will suffice.
Since 31 December 2023, all goods sold in Great Britain have been required to reflect these updated labelling standards, which are now different from those that apply in Northern Ireland under the Windsor Framework. Things like identification marks, FBO addresses, and country of origin labelling (like the ‘UK(NI)’ mark for Northern Ireland goods) are all part of this new regulatory picture. You can find the specifics on the official government guidance page.
Realising the subtle differences between Great Britain and Northern Ireland regulations is fundamental. The rules are not interchangeable; a label that’s perfectly compliant for sale in London might not be legal for sale in Belfast.
Keeping up with these legal shifts is an ongoing job. For a more detailed look at what to expect, read our guide on the latest updates for labelling in the UK market. Getting these details right from the very beginning protects your business and, just as importantly, builds trust with your customers.
Even with the best prep in the world, things can still go sideways on the production line. One minute everything is running like clockwork, and the next you’re staring at a pile of jars with wrinkled labels. It’s frustrating, but it happens. The good news is that most of these headaches are caused by just a few common culprits.
Nine times out of ten, the problem you’re seeing with your glass jars comes down to either the machine’s setup, the condition of the jars themselves, or the humidity in your production space. A small, targeted tweak is usually all it takes to get things back on track.
A label that isn’t perfectly flat is probably the most common issue we see. Wrinkles and bubbles just scream “unprofessional,” and they’re almost always down to a mechanical or surface problem.
Seeing labels peel at the edges or, even worse, fall off completely is another major headache. When this happens, it’s almost always a sign that your adhesive is not getting along with the jar’s surface.
I can’t stress this enough: the number one reason for labels failing to stick is trying to apply them to cold or damp jars. Even a microscopic layer of condensation creates a barrier between the adhesive and the glass, dooming the bond from the start.
The solution? Let your jars sit and acclimatise to the room’s temperature for at least 24 hours before you even think about labelling them. Make absolutely sure they’re bone dry. If you have no choice but to label cold-filled products, you’ll need to invest in a specialised “all-temp” adhesive built for the job.
Don’t forget the room you’re working in, either. High humidity can be a silent killer, subtly adding moisture to the jar’s surface and weakening that crucial initial tack.
To help you quickly diagnose what’s going wrong, here’s a quick-reference guide to some of the most frequent issues we encounter.
This table is your first port of call when things start going wrong. Run through these common scenarios to find a fast and effective solution.
| Problem | Potential Cause | Solution |
|---|---|---|
| Wrinkled or Bubbled Labels | Incorrect roller pressure or web tension. | Adjust machine settings for even pressure and balanced tension. |
| Crooked or Misaligned Labels | Jar guides are set incorrectly. | Realign the guides to hold the jar straight as it passes the label applicator. |
| Labels Won’t Stick (Flagging) | Jars are too cold, wet, or dirty. | Confirm jars are clean, dry, and at room temperature before application. |
| Adhesive Fails Over Time | Wrong adhesive type for the environment. | Use a permanent or all-temp adhesive suitable for the product’s storage conditions. |
By methodically checking these potential causes, you’ll be able to solve the vast majority of issues that pop up when labelling glass jars. A calm, systematic approach will save you a ton of waste and keep your products looking sharp.
If you want to understand the labels on glass jars today, you have to appreciate just how much they’ve changed over the years. We take detailed, colourful labels for granted, but it wasn’t always this way. Early on, labels were incredibly basic – often just a handwritten tag tied on with string, meant only to identify what was inside. Their job was purely functional, a far cry from the sophisticated branding we see now.
The real shift began as production started to scale up. The invention of lithographic printing back in the late 18th century was a genuine turning point. For the first time, producers could create consistent, eye-catching labels in large volumes. This technology transformed the humble label from a simple identifier into a piece of marketing, giving brands a way to make their glass jars pop on a crowded shelf.
As more manufactured goods filled the shops, the need for proper regulation became obvious. A pivotal moment for UK labelling came with the Food and Drugs Act of 1860. This was a landmark piece of legislation, designed to protect people from dodgy or mis-sold products.
It established a new principle: what was written on a label had to be true. This laid the groundwork for all the consumer rights we have today. It was the government’s first real step in making sure labels worked for the shopper, not just the seller. For a deeper look into how this early act influenced modern standards, you can find more insights about the evolution of food labels in the UK.
Over the next hundred years, the label’s job description just kept growing. A brand name and a product title were no longer enough. Shoppers and regulators started to demand a lot more transparency.
This push for clarity led to more and more information becoming mandatory. Things we now expect to see, like:
The history of the jar label is really a story about increasing transparency. With every new law and technological leap, the label has been pushed to do more- evolving from a simple tag into a comprehensive source of information for the consumer.
Today, the label on any glass jar is a surprisingly complex document. It has to walk a fine line, blending marketing flair with a long list of strict legal requirements. It comes from a long journey from simple identification to the detailed disclosure we rely on today. This history explains why modern labelling is so detailed and why getting it right is absolutely critical.
For expert guidance and a full range of manual, semi-automatic, and automatic labelling machines designed for any scale of production, trust Sessions UK. Find the perfect solution for your glass jars and make certain every product looks professional and compliant at https://sessionsuk.com.

Learn how an RFID clothing tag can streamline retail operations and boost inventory accuracy. Discover benefits and implementation tips today.

Discover how asset tracking labels work for UK businesses. This guide covers barcode vs. RFID, materials, and how to build your asset management system.

Find the best bottle label makers for your needs. Explore features and tips to select the right machine for your business. Click now!
Copyright © 2026 Sessions Label Solutions Ltd.