
Choosing the right labels for printing postage is the first step in setting up a smooth shipping process. It comes down to what kind of printer you have, what you’re sticking the labels on, and how many parcels you send out. The two main paths are thermal labels, designed for dedicated postage printers, and standard laser or inkjet sheets that work with your everyday office printer.
Picking the best labels for printing your postage might seem daunting, but it’s simpler than you think. Your choice hinges on three things: your printer, your packaging, and your shipping volume. Nail this decision early on, and you’ll sidestep frustrating delivery problems and wasted money down the line.
It’s a bit like choosing the right tyres for a car. You wouldn’t fit slick racing tyres for a muddy off-road trek, would you? In the same way, your labels need to be tough enough for their journey.
Let’s start with your printer, as it’s the biggest factor. If you’ve invested in a dedicated thermal postage printer, you’ll need rolls or fan-fold stacks of thermal labels. If you’re using a standard office printer, you’ll be looking at A4 sheets that have one or more labels cut into them. Each setup has its own pros and cons.
Next, think about what you’re shipping. A standard paper label will stick perfectly to a cardboard box but might peel away from a slippery plastic poly mailer. If your parcels are likely to face a bit of British weather or get knocked about in transit, the label material itself becomes incredibly important. For those tougher journeys, a durable synthetic label is a much safer bet to protect the barcode and address.
This handy chart breaks down how your printer and shipping conditions should guide your choice.
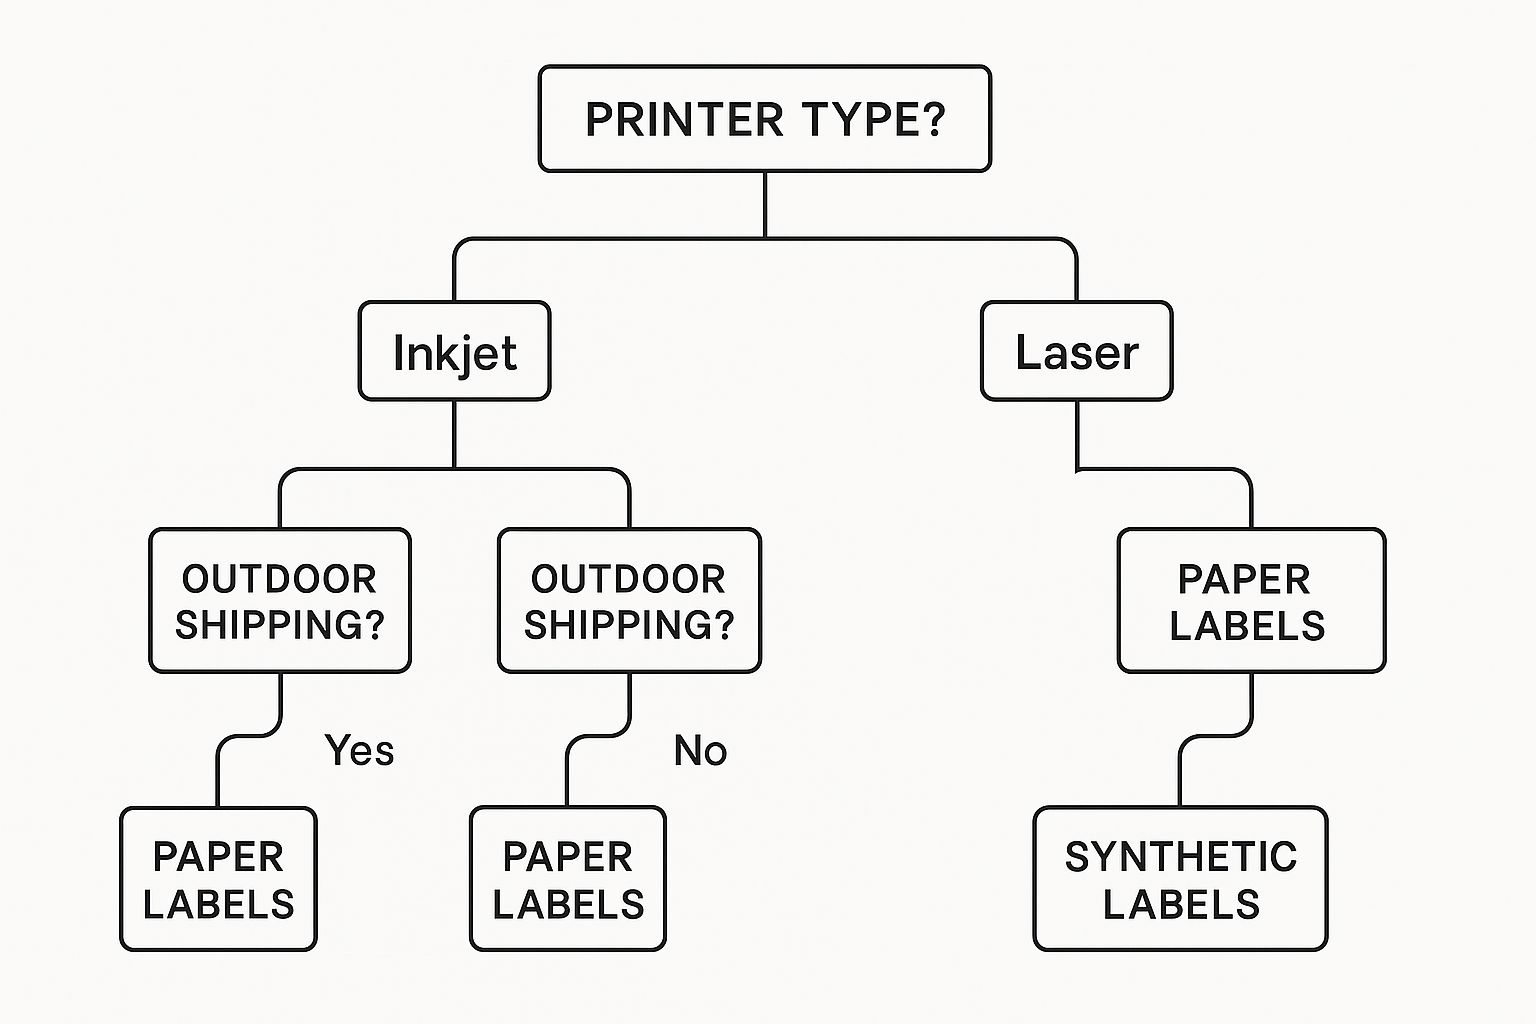
As you can see, there’s a clear fork in the road. For parcels that will be kept dry and handled carefully, standard paper labels do the job just fine. But when your items might be exposed to the elements, upgrading to a synthetic option is the smart move to keep your package safe and sound.
https://www.youtube.com/embed/8S5ODjMx_mk
The material and adhesive you choose for your postage labels are the unsung heroes of your entire shipping process. They’re what keeps your parcel’s information safe and sound, from the moment it leaves you to the second it lands on your customer’s doorstep. Getting this combination wrong can lead to unreadable barcodes, damaged addresses, and the dreaded lost package.
Think of your label’s material as a protective coat for all that shipping data. For a short journey in mild weather, a light jacket will do the job. This is your standard paper label. It’s cheap, cheerful, and absolutely fine for parcels sent in sturdy cardboard boxes that aren’t likely to get rained on or knocked about too much.
But what if that same parcel gets caught in a downpour or is squashed at the bottom of a delivery van? A paper label could easily tear or the ink might smudge, making the barcode completely useless to a scanner. This is where synthetic labels, usually made from materials like polypropylene, become the only sensible choice. They’re the equivalent of a heavy-duty, waterproof coat.
These durable labels are built to resist moisture, scuffs, and tearing. I always recommend them for:
A smudged or torn barcode can stop a package dead in its tracks. The automated sorting machines in depots rely on clean, high-contrast scans to route everything correctly. A weather-resistant synthetic label is a tiny investment for delivery reliability.
Now, for the second piece of the puzzle: the adhesive. This is the glue that physically sticks the label to your package. When it comes to postage, the choice is simple. You absolutely need a permanent adhesive.
A permanent adhesive is engineered to create a powerful, lasting bond that won’t give up, even with temperature swings and the bumps of transit. A removable adhesive, as the name suggests, is designed to peel off without a fuss, making it a disaster for shipping. Using the wrong glue is a one-way ticket to a lost label and, very quickly, a lost parcel. For labels for printing postage, a strong, permanent bond is completely non-negotiable.
If you’re curious about the technical side of different glues, you can find more in our guide to understanding label adhesives. For shipping, just remember that a permanent hold is the only way to go.

The printer sitting on your desk is the single biggest factor in choosing the right labels for printing postage. It’s a simple fact for anyone shipping parcels: pick a label that doesn’t play nicely with your printer, and you’re in for fuzzy prints, infuriating paper jams, and a bin full of wasted supplies.
Before you buy a single label, you need to know what kind of machine you’re working with. Broadly, you’ll either have a specialist thermal printer or a standard office laser or inkjet printer. Figuring this out is the first step to getting crisp, scannable results every single time.
If you see a printer that looks like the one in the picture, you’ve got a thermal printer. These are the dedicated workhorses of the e-commerce world. High-volume shippers swear by them because they’re incredibly fast, reliable, and-best of all-don’t use any ink or toner. This makes them exceptionally cost-effective when you’re churning out hundreds of labels a week.
There are two flavours of thermal printing technology:
Many small businesses and home-based sellers get started by using their everyday office printer, and there’s absolutely nothing wrong with that. It’s a sensible way to print postage without splashing out on new equipment.
To make this work, you’ll need to buy labels on A4 sheets. These are often sold as “invoice sheets” or “integrated labels,” where the postage label is part of a larger page you can use for a packing slip.
When you’re printing this way, choosing the right sheet type is non-negotiable if you want to avoid a mechanical headache.
Getting professional-looking labels from your office printer is entirely possible with the right supplies. As your business grows, investing in a dedicated shipping label printer can save you a surprising amount of time and money in the long run.
When you’re choosing labels for printing postage, picking the right size goes far beyond just looks-it’s absolutely critical for getting your parcel where it needs to go. A label that’s too small can result in a squashed, unreadable barcode. One that’s too big might wrap awkwardly around the side of your box. Either way, you’re risking scanning failures, which can lead to frustrating delays or, even worse, a lost package.
Think of it this way: your label has a lot of important jobs to do. It needs enough room for the recipient’s address, your return address, the barcode, and any tracking details, all without anything being distorted. Trying to cram all that onto a tiny label is just asking for trouble.
For most businesses shipping within the UK, the 6×4 inch label (which is about 101mm x 152mm) is the gold standard. It’s the size that all the major players-from Royal Mail and DPD to Evri and Yodel-build their shipping templates around. This size gives every element, especially the barcode, plenty of space, making certain it can be read easily by automated sorting machines.
Because the 6×4 format is so common, most dedicated thermal label printers are designed to handle this size straight out of the box. Sticking to the standard just makes life easier. You won’t have to constantly fiddle with printer settings or worry about compatibility when you switch between couriers.
Of course, a 6×4 label isn’t always the perfect fit, especially if you’re shipping very small items. If you’re sending out things like jewellery boxes or small padded envelopes, a large label can be completely impractical. In these niche cases, a smaller option, like a 4×2 inch label, might seem like a better choice.
But hold on before you commit to a non-standard size. It is absolutely necessary that you check the specific rules of your chosen courier first. Many services, particularly for certain tracked options, strictly require the 6×4 format to work with their scanners. Using the wrong size could lead to unexpected surcharges or your items being returned to sender.
Your goal is a clean, flat, scannable print. A label with a creased barcode or one that drapes over the edge of a box is a recipe for failure at the first sorting hub. Always pick a size that fits comfortably on the largest flat surface of your package.
If you’re still weighing up your options, our detailed guide on how to choose label sizes can give you some extra clarity for all kinds of applications.
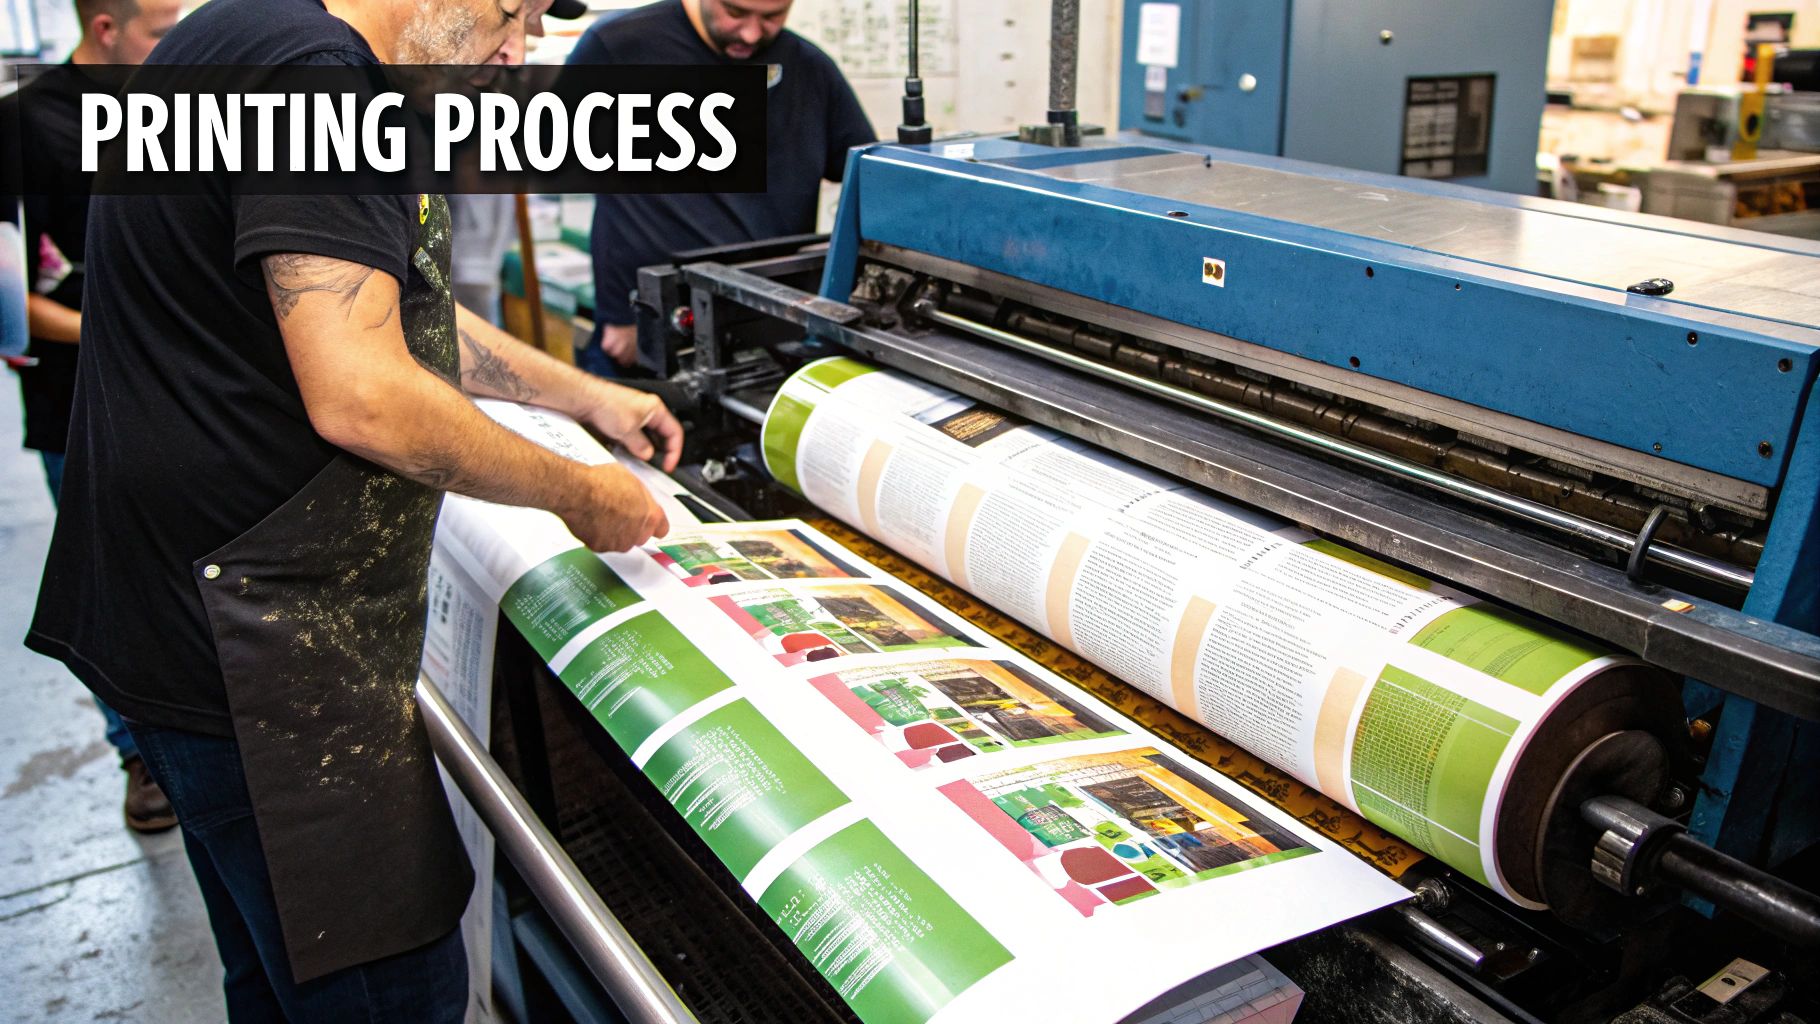
Choosing the perfect label is only half the story. The real test is in the printing and application-this is where a smooth delivery is either made or broken. Getting these final steps right, from the printer settings to how you stick the label on the box, is what separates a successful shipment from a frustrating return-to-sender.
The aim is simple: a crisp, high-contrast print that any courier’s scanner can read in a flash. A blurry barcode or a creased label can throw a real spanner in the works at automated sorting depots, leading to needless delays. Taking a moment to nail your process now will save you a world of headaches down the line and keep your customers happy.
Before you even think about hitting ‘print’, a quick check of your settings is non-negotiable. This one small step can head off most common printing problems and make certain your labels for printing postage are ready for their journey.
For any business sending out parcels regularly, creating a repeatable process is a good idea. You can guarantee consistent results by creating and following a simple printing quality control checklist.
With a perfect print in hand, the final, critical step is getting it onto the package correctly. Believe it or not, a badly applied label is just as likely to cause a delivery failure as a poorly printed one. You’re aiming for a surface that is flat, smooth, and completely stuck down.
Always place the label on the largest, flattest side of your package. This gives scanners the best possible opportunity to read it without any trouble.
Critical Application Don’ts: Whatever you do, don’t stick tape over the barcode-the glare can make it completely unreadable for a scanner. You should also avoid sticking labels over seams, edges, or on top of old tape, as this creates weak spots where the label can lift, tear, or crease in transit. A wrinkled label is bad news because it can distort the barcode and cause scanning errors.
Applying a label to something flexible like a poly mailer or a padded envelope requires a bit of extra attention. Always smooth it down from the centre outwards, pushing out any air bubbles as you go. This secures a solid bond across the entire label. If you’re dealing with lots of different packaging types, it’s worth exploring how to master label application techniques.
Even with the right gear, a few questions always seem to pop up when you first start printing your own postage. Getting solid answers from the get-go helps you sidestep common mistakes and send your parcels out with confidence. Let’s tackle some of the most frequent queries we hear about labels for printing postage.
Technically, yes, you can print a label on standard A4 paper. But honestly, it’s not a great idea.
You’ll have to meticulously cut the label out and then tape it onto your parcel, making certain the tape doesn’t cover the barcode. The glare from the tape can easily make the barcode unreadable for scanners, which is a recipe for delivery problems. Using proper self-adhesive labels is faster, looks far more professional, and is just plain safer.
Not at all, especially when you’re just starting out. You can get perfectly good results from your everyday inkjet or laser printer using A4 integrated label sheets.
As your business grows and you find yourself shipping more and more parcels, you might find a dedicated thermal printer becomes a very smart investment. They’re incredibly fast and cheap to run because they don’t use any ink or toner.
Whatever you do, don’t use a label that’s smudged, streaky, or has a faded barcode. A poor-quality print is one of the top reasons for scanning failures and frustrating delivery delays.
First, check your printer settings. Make certain you’ve selected the correct label size (like 6×4 inch) and have cranked the print quality up to ‘high’ or ‘best’. If you’re using a thermal printer, you might need to adjust the print ‘density’ or ‘darkness’. If that doesn’t fix it, a quick clean of the printer’s print head, following the manufacturer’s guide, usually does the trick.
What if you’ve already paid for the postage on a botched label? Don’t panic. You can usually void the label and request a refund from your postage provider, whether it’s Royal Mail Click & Drop or another courier service. Just be aware there’s usually a time limit, so act fast and get a fresh, clear label printed for your parcel.
It’s best to avoid writing on a postage label by hand. The automated sorting hubs that couriers use are built around machines reading printed text and barcodes. Any handwriting can throw off the optical character recognition (OCR) software, which could lead to your parcel being misrouted or delayed. It’s always safest to stick to the information generated by your shipping software.
Here are some quick answers to a few more common questions we often get asked about postage labels.
| Question | Answer |
|---|---|
| Why is my thermal label printing blank? | This usually happens for two reasons: the labels are loaded upside down, or they aren’t thermal-compatible labels. Double-check they are loaded correctly with the printable side facing up. |
| How long does a thermal label last? | A standard direct thermal label can last for 6-12 months before it starts to fade, especially if exposed to heat or sunlight. For longer-lasting needs, consider thermal transfer labels. |
| Can I reuse a postage label? | No, never reuse a postage label. Each label has a unique tracking number and is intended for a single use. Reusing a label is considered postage fraud. |
| Is it cheaper to print my own postage? | In almost all cases, yes. Buying postage online and printing it yourself is typically cheaper than going to the Post Office, with most couriers offering discounted rates. |
Hopefully, these answers clear things up and help you get your parcels out the door smoothly.
For reliable labelling solutions that grow with your business, from manual applicators to fully automated systems, explore the range at Sessions UK. Our experts can help you find the perfect machinery to match your production needs. Find your ideal solution by visiting our website.

Learn how an RFID clothing tag can streamline retail operations and boost inventory accuracy. Discover benefits and implementation tips today.

Discover how asset tracking labels work for UK businesses. This guide covers barcode vs. RFID, materials, and how to build your asset management system.

A practical guide to labelling glass jars. Learn about machines, adhesives, and UK compliance to get a professional finish for your products.
Copyright © 2026 Sessions Label Solutions Ltd.