
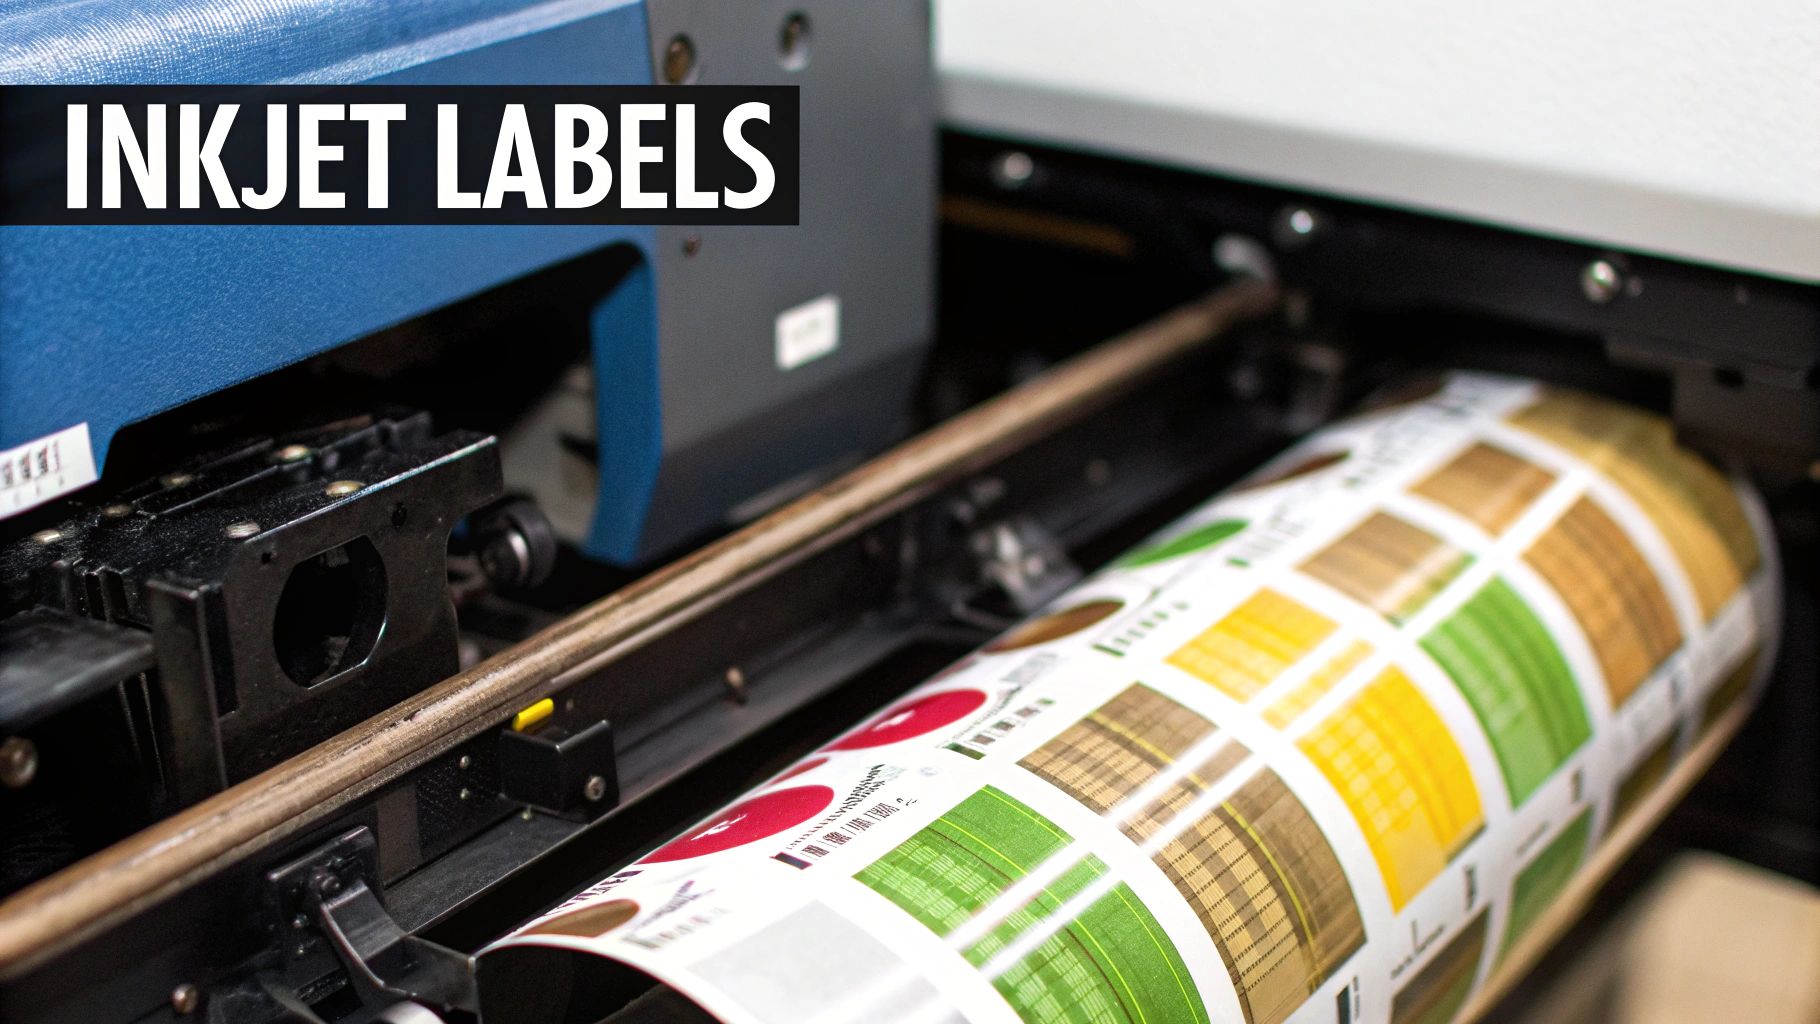
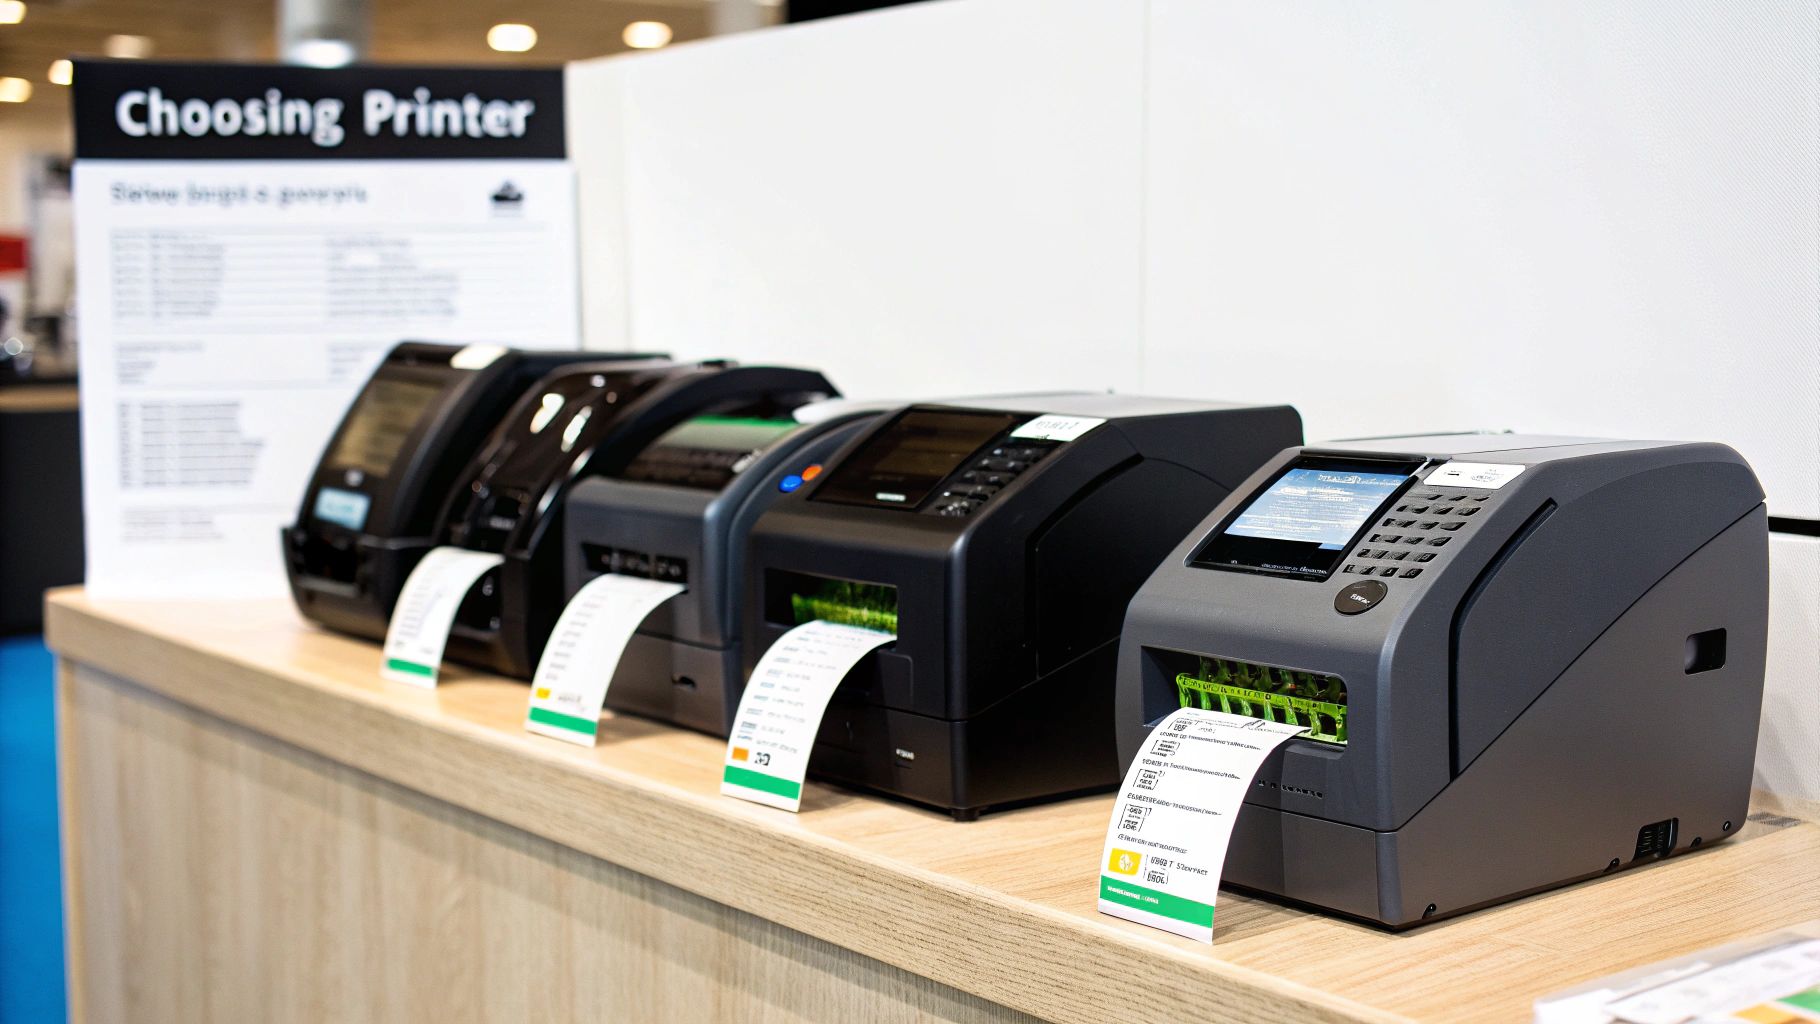
So, you’re ready to start printing your own labels? Choosing the right inkjet printer is the single most important step. It’s the difference between labels that look sharp and professional, and a smudged, disappointing mess. Think of it less like buying a generic office machine and more like selecting a specialised tool for a specific job, whether that’s for home organisation or branding your small business products.
Before you even start looking at printer models, you need a clear picture of what you’ll be printing. Are you after simple, functional address labels? Or are you creating durable product labels for items you sell? The answer to that question will point you in the right direction.
The demand for versatile, high-quality printers is growing. In the UK alone, the market was valued at around USD 3,062.7 million in 2024 and is expected to climb to USD 4,483.0 million by 2030. This surge is fuelled by people just like you needing machines that can do more than just print documents.
The ink your printer uses is a massive factor. This isn’t just a minor detail; it fundamentally changes how your labels will look and perform. You’ll find two main types in inkjet printers: dye-based and pigment-based.
Beyond ink, you need to look at the printer’s technical specs. Print resolution, measured in Dots Per Inch (DPI), dictates how sharp and detailed your final print will be. For basic text or simple graphics, a standard resolution works fine. But if your labels feature intricate logos or tiny text, you’ll need a higher DPI-something like 4800 x 1200-to get crisp, readable results.
For businesses that print a lot of postage, it might be worth exploring a dedicated shipping label printer to handle the volume.
A classic mistake I see all the time is trying to print on glossy vinyl labels with a standard office printer. Unless the printer is designed for that material and uses the right ink, you’ll just end up with a beaded, smudgy disaster. Always, always check the printer’s specifications to confirm it can handle the label stock you plan to use.
The features of your printer directly influence the final quality of your labels. This table breaks down what to look for and why it matters.
| Feature | Impact on Labels | Best For |
|---|---|---|
| High DPI (e.g., 4800×1200) | Produces incredibly sharp text and detailed, bright images. | Complex logos, small fonts, and photo-quality product branding. |
| Pigment-Based Ink | Creates durable, water-resistant, and UV-resistant prints. | Product labels, outdoor-use stickers, and any application needing longevity. |
| Dye-Based Ink | Delivers exceptionally bright colours. | Indoor-use labels like planner stickers, file folders, and address labels. |
| Rear Paper Feed | Allows for a straight paper path, preventing thick label sheets from jamming. | Printing on cardstock, sticker vinyl, or any thick, specialty media. |
| Borderless Printing | Prints right to the edge of the sheet, eliminating unprinted margins. | Full-bleed designs, making sure your label artwork covers the entire surface. |
Matching the printer’s capabilities to your project’s demands is the key. Taking the time to understand these features helps you invest in a machine that will deliver professional results every time.
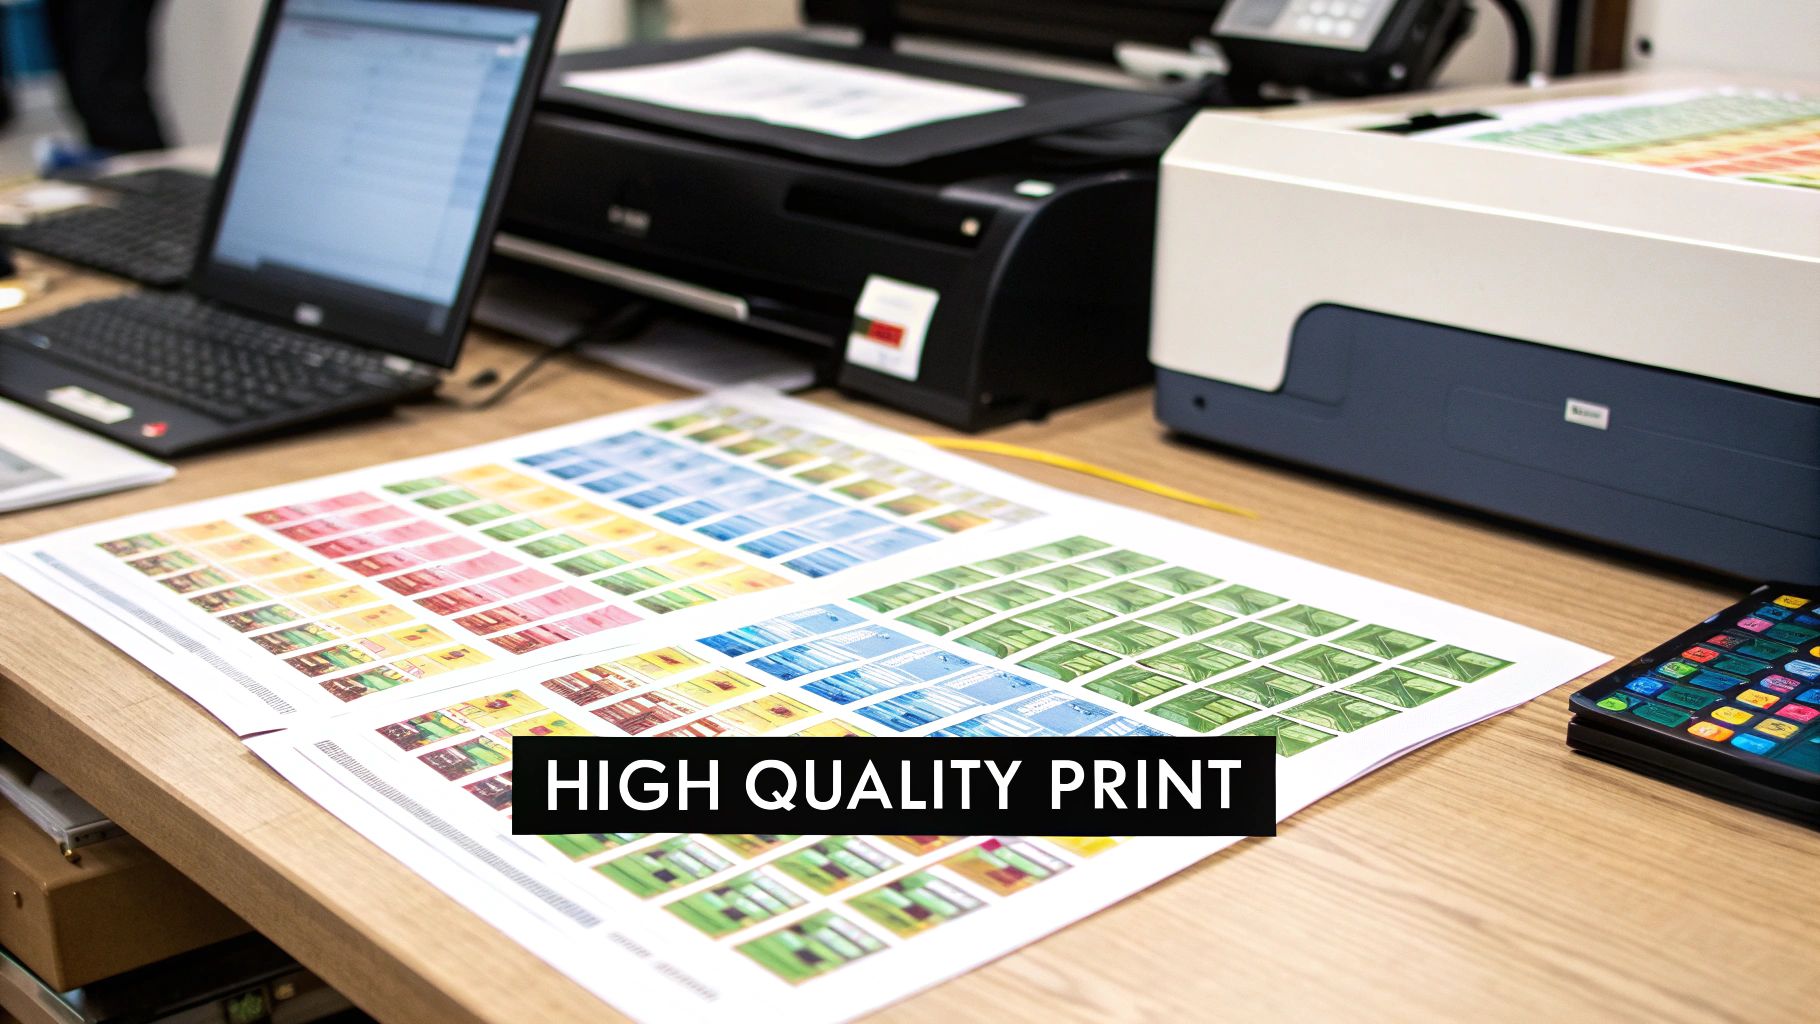
The quality of your printed labels has just as much to do with the paper you choose as it does with your printer. If you want to avoid common headaches like smudged ink, bleeding colours, and a generally lacklustre finish, you need to use sheets designed for a labels inkjet printer. It’s a simple step, but picking the wrong paper can make even a top-of-the-line printer produce disappointing results.
Different label materials have unique qualities, so it’s all about matching the paper to the purpose. For simple, everyday jobs like printing address labels or organising office files, a standard matte paper finish does the trick. It’s cost-effective and gives you a clean, non-reflective surface that’s easy to read.
But what if you need more impact? For product branding, marketing materials, or anything where bright colour is needed, glossy paper is the way to go. Its reflective surface makes colours appear deeper and more saturated, giving your labels a professional, high-end feel.
Of course, sometimes a label needs to do more than just look good. For anything that will face moisture, friction, or the great outdoors, standard paper simply won’t survive. This is where specialised materials are a must.
I’ve seen it happen countless times: someone puts a standard paper label on a shampoo bottle, and after one trip to a steamy shower, it’s a smudged, peeling mess. Always think about the label’s final destination. Choose your material based on its end-use environment, not just how it looks coming out of the printer.
This growing need for specialised, on-demand printing is a key reason for the inkjet printer market’s expansion across the UK and Western Europe. If you’d like to explore this topic further, our guide to the best materials for labels is packed with more detailed advice.
Taking a moment to understand your options is the secret to getting professional, long-lasting results every single time you print. With the Western European inkjet market projected to reach nearly USD 18.9 billion by 2035, we’re seeing a welcome push towards more sustainable and eco-friendly label materials becoming available.
A perfect label all starts with getting the digital groundwork right. Before you hit ‘Print’, spending a bit of time on your design file and printer settings is the single best way to avoid misaligned prints, off-key colours, and wasted label sheets.
Your journey begins in your design software. It doesn’t matter if you’re using a professional suite like Adobe Illustrator or a simple online tool; the first job is to create a document that is an exact match for your A4 label sheet.
Before dropping in logos or typing out text, you need to get your document’s core properties sorted. This initial setup is the foundation for getting a quality print from your labels inkjet printer.
To get the best results, it’s worth getting to grips with a few graphic design principles for print, as things like resolution and file types really do make a difference.
Imagine you’re designing a full sheet of 65mm round stickers for a new product line. Your first step would be to set up an A4 canvas. Then, you’d carefully place each 65mm circular design onto the canvas, following the template from your label supplier to make sure nothing creeps outside the designated print areas.
I see this all the time: people design in CMYK because they’ve heard it’s for printing. While that’s true for commercial litho presses, your desktop inkjet printer works in RGB. If you send it a CMYK file, the printer has to convert the colours, often making them look dull or just plain wrong. Always start in RGB for inkjet.
With your design finalised, the next part happens in your printer’s own settings menu – that little dialogue box that pops up when you go to print. Don’t just rush to click the ‘Print’ button; take a moment to fine-tune these settings.
This is where you tell the printer what kind of material you’re feeding it. Look for a setting labelled ‘Media Type’ or ‘Paper Type’. Choosing the right option, like ‘Glossy Photo Paper’ or ‘Specialty Paper’, tells the printer how much ink to lay down and at what speed to pull the sheet through.
Next up is ‘Print Quality’. For any labels that have detailed graphics or small text, you should always select ‘High’ or ‘Best’. Yes, it uses a bit more ink and takes longer, but the difference in sharpness is night and day. Making these small adjustments is key to avoiding smudges and getting that polished, professional look.
For businesses that print and apply labels in large numbers, the next step towards greater efficiency might involve looking into how to use a label application machine to streamline the process after printing.
You’ve got your design sorted and your printer settings dialled in. Now for the exciting part: actually printing your labels. This is where all that careful prep comes together, turning a great digital design into a tangible, professional-looking label.
Let’s get those label sheets into the printer. It might sound basic, but how you load the paper is crucial for a perfect print run.
Start by gently fanning the stack of label sheets. This simple trick separates them and reduces the chance of two sheets feeding through at once, which is a common and frustrating problem. Place them in your printer’s tray and slide the paper guides so they’re snug against the edges of the stack. Not too tight, just enough to hold them securely. This prevents the paper from shifting and your design printing askew.
Most home inkjet printers feed from a front tray. But, if you’re using thicker materials like vinyl or heavy cardstock, a printer with a rear feed tray is a godsend. It provides a much straighter path for the media, which dramatically cuts down on jams and misfeeds.
The image below breaks down the entire journey, from creating your design to holding the finished product.
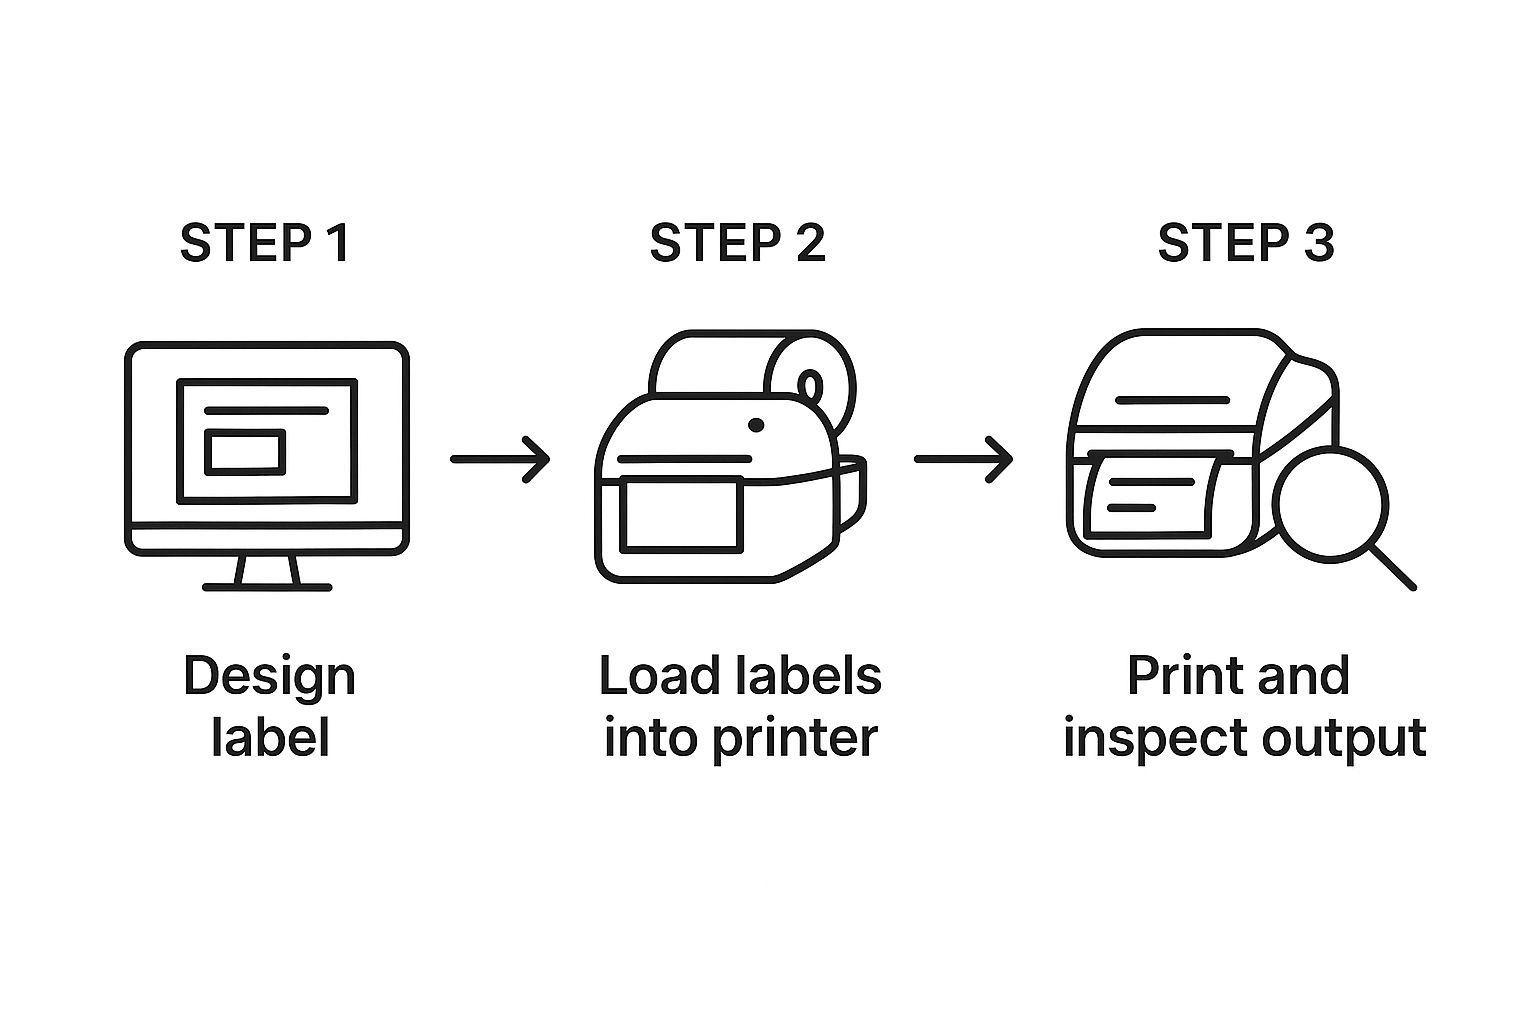
As you can see, it’s a straightforward sequence. Each step logically follows the last, leading to a successful print.
Before you use your expensive label paper, run a test print. Seriously. Use a standard sheet of plain A4 paper first. This is the single most important step for checking your alignment.
Print a single copy of your label design onto plain paper. Then, take that printed sheet and hold it against a blank label sheet, up to a window or another light source. You’ll see instantly if your design lines up perfectly with the pre-cut labels. This five-minute check has saved me more sheets of glossy vinyl than I can count over the years.
Once you’ve confirmed the alignment is spot on, you’re ready for the real thing. Go ahead and print your labels.
When they come out of the printer, patience is key. Inkjet ink needs a moment to dry, particularly on glossy or vinyl surfaces. Resist the urge to touch them immediately, as this is the easiest way to cause smudges. I usually let them sit for a good 15 to 30 minutes just to be safe.
After the ink has fully cured, it’s time to apply them. For a clean, bubble-free finish, don’t just stick the whole thing down at once.
And there you have it: a perfectly printed and applied label.
Even with the best preparation, printing labels can sometimes feel like a bit of a battle. A single smudged sheet or a design that’s slightly off-centre can throw a whole project off schedule. But don’t worry, most of these common hiccups have surprisingly simple fixes.
When your beautiful designs turn into a smudgy mess, it’s almost always down to one of two culprits. First, you might be using labels that aren’t actually made for an inkjet printer. The ink needs a special coating to absorb into, and if it’s not there, it will just sit on the surface and smear.
The second common cause is that your printer settings don’t match the media you’re using. If you’re printing on glossy labels, you need to tell your printer that. Go into your print dialogue and select the right paper type, like ‘Glossy Photo Paper’ or ‘Matte’. This tells the printer to use the right amount of ink and give it enough time to dry.
With the explosion of e-commerce, the need for high-quality, on-demand label printing has skyrocketed in the UK’s packaging and advertising worlds. Inkjets are perfect for this, offering great results for smaller, flexible runs. You can look deeper into the market dynamics by checking out research on UK inkjet printer market trends.
Is your design printing a few millimetres to the left or right? This is a classic alignment issue. Before you start tweaking your design file, open your printer tray and check the paper guides. They should be snug against the edges of your label sheet-not too tight, but with no wiggle room.
Also, double-check that your design software’s page size and margin settings perfectly match the specifications of your label template. Even a tiny mismatch can cause the entire print to drift.
What about when the colours on your labels look nothing like they did on your screen? This is a very common screen-to-print problem. Your monitor creates colours using light (RGB), while your printer uses ink (CMYK), and they don’t always translate perfectly.
A great way to get a handle on this is to run a quick calibration. Print a colour test chart from your printer’s utility software and compare it to the digital file on your screen. This will instantly show you if your printer is struggling with certain blues or reds, letting you adjust your design before you waste a whole pack of labels.
Finally, the dreaded paper jam. This usually happens when the label sheets stick together or when the media is too thick for your printer’s main paper path. Always give the stack of sheets a quick “fan” before you load them to separate the edges. If you’re using heavy cardstock labels, check your printer’s manual for its maximum paper weight and see if it has a rear or manual feed slot, which is usually designed for thicker media.
For a quick reference, here’s a table that breaks down these common issues and their solutions.
| Problem | Potential Cause | How to Fix |
|---|---|---|
| Ink Smudging | Wrong media setting or incompatible label paper. | Select the correct paper type (e.g., ‘Glossy’) in printer settings and confirm labels are for inkjet printers. |
| Poor Alignment | Loose paper guides or incorrect software margins. | Adjust paper tray guides to be snug. Double-check that document margins match the label template exactly. |
| Colours Mismatch | Screen-to-print colour conversion issues. | Make sure you designed in RGB colour mode. Use your printer’s colour management settings or a calibration chart. |
| Paper Jams | Sheets sticking together or media is too thick. | Fan the label sheets before loading. Use a rear feed tray for thicker label stock if available. |
Having this little troubleshooting guide handy can save you a lot of time and frustration, helping you get back to printing perfect labels every time.
When you’re first getting started with printing your own labels on an inkjet, a few questions always seem to pop up. Let’s tackle some of the most common ones I hear from people just like you.
Absolutely, you can get some seriously water-resistant results. The trick is to start with the right materials. Look for dedicated waterproof label stock, usually made from vinyl or polyester, that has a special coating designed to grab and hold inkjet ink.
For an even tougher finish, using pigment-based inks will give you a big advantage over standard dye-based ones when it comes to durability.
Here’s a pro tip for products that will live in a steamy bathroom or a busy kitchen: once your labels are printed and the ink is completely dry, add a clear laminate. You can find this as an aerosol spray or as self-adhesive sheets. It creates an excellent barrier against moisture, scuffs, and smudges.
This is a classic problem, and thankfully, it’s usually just a simple alignment issue between your design software and the printer itself. It’s frustrating, but easy to fix.
Double-check that the page size and margin settings in your design file perfectly match the specifications of your label sheet. Even a millimetre off can cause drift.
Before you waste a sheet of your good labels, print a test run on plain paper. Hold that printed page up against a blank label sheet, with a light source behind them. This will instantly show you if anything is misaligned so you can adjust your file before the final print.
And one last thing: make sure the little plastic paper guides in your printer’s input tray are snug against the sides of the label sheet. Any wiggle room can let the sheet shift as it’s pulled through.
For the sharpest, most professional-looking labels, you’ll want to go into your printer’s settings. Always select the ‘High’ or ‘Best’ quality option. This does slow the printing down, but it’s worth it because the printer lays down the ink with much greater precision-perfect for getting small text and intricate logos just right.
Just as important is telling your printer what kind of paper it’s handling. Find the ‘Media Type’ or ‘Paper Type’ setting and choose the option that best matches your labels, like ‘Glossy Photo Paper’ or ‘Premium Matte’. This adjusts how much ink is used and how it’s applied to the surface. For a deeper look into getting it right, you can learn how to create effective labels in our detailed guide.
Once you’ve printed your labels, applying them consistently and professionally is the next step. For reliable labelling machinery, explore the solutions we offer at Sessions UK. You can find the perfect machine for your needs at https://sessionsuk.com.

Learn how an RFID clothing tag can streamline retail operations and boost inventory accuracy. Discover benefits and implementation tips today.

Discover how asset tracking labels work for UK businesses. This guide covers barcode vs. RFID, materials, and how to build your asset management system.

A practical guide to labelling glass jars. Learn about machines, adhesives, and UK compliance to get a professional finish for your products.
Copyright © 2026 Sessions Label Solutions Ltd.